 Save
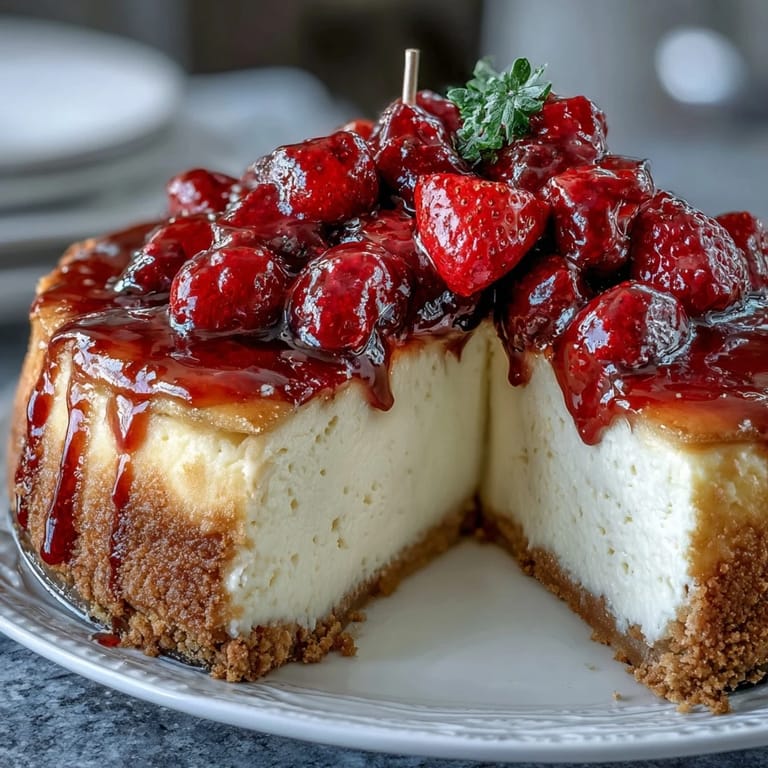
Save My sister called me three weeks before her graduation asking if I could make something special for the party—something that felt celebratory but wouldn't require me to stress over a massive cake. That's when these cheesecake bites came into my life, tiny enough to pop in your mouth but fancy enough to feel like a real dessert. The first batch I made, I wasn't sure about the diploma picks, but watching guests laugh and take photos with them in hand changed everything about how I think of festive food.
I'll never forget the moment my friend Marcus bit into one at the party and his eyes lit up—he'd expected something dry or too sweet, but instead he got this perfect balance of buttery crust and silky filling. That's when I realized these little bites had a hidden superpower: they surprised people in the best way.
Ingredients
- Graham cracker crumbs (1 cup): The foundation of every good cheesecake, and using finely crushed crackers (pulse them yourself if you like) gives you better texture control.
- Granulated sugar for crust (2 tbsp): Just enough sweetness to complement the butter without making the crust cloyingly sugary.
- Unsalted butter, melted (4 tbsp): Room temperature or melted butter binds everything together—don't skip the melting step, it makes pressing down so much easier.
- Cream cheese, softened (12 oz): Let this sit on the counter for at least an hour before beating; cold cream cheese creates lumps that no amount of mixing will fix.
- Granulated sugar for filling (1/2 cup): Creamed with the cream cheese until completely smooth, this is where the magic starts.
- Large egg (1): Room temperature eggs blend in more easily and create a silkier texture.
- Vanilla extract (1 tsp): A small amount that brightens the whole filling without overwhelming it.
- Sour cream (2 tbsp): This ingredient changed my cheesecake game—it adds subtle tang and keeps the texture creamy rather than dense.
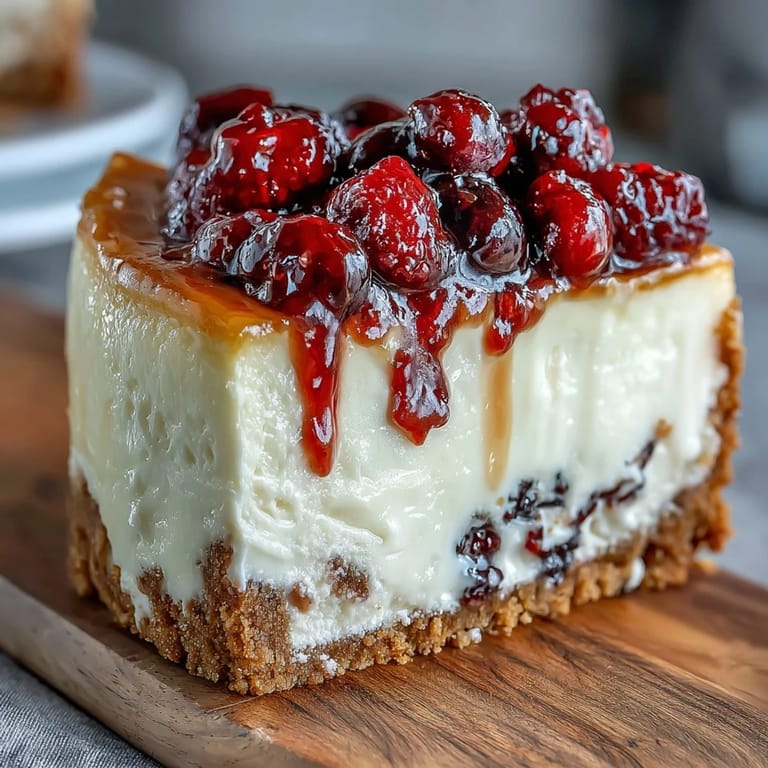
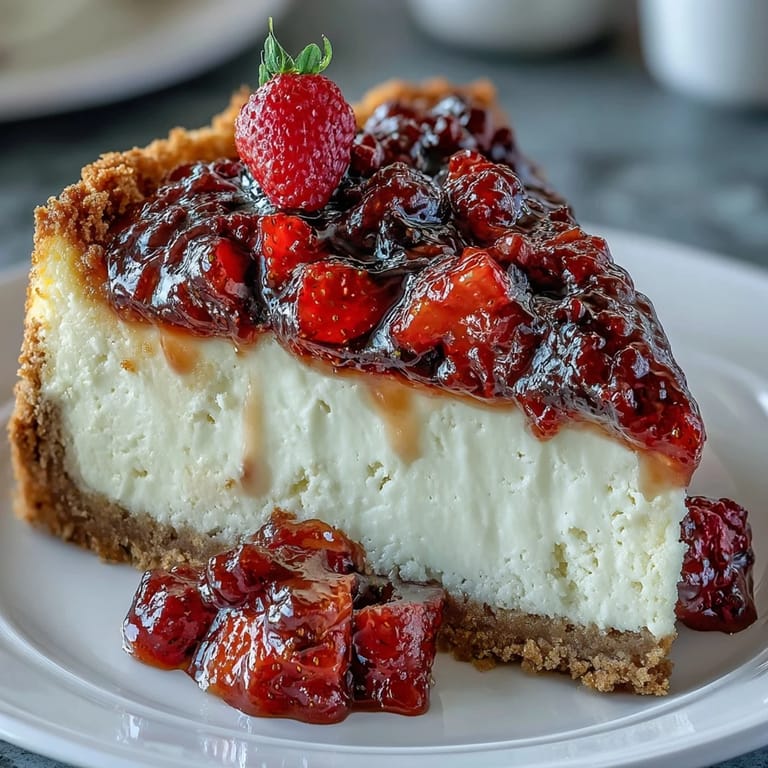
- Fresh mixed berries (1/2 cup, diced): Blueberries, raspberries, and strawberries all work beautifully; I prefer a mix because the flavors play together.
- Fruit preserves, optional (2 tbsp): A light brush of warmed preserves makes the berries look glossy and professional.
- Diploma picks: You can buy these online or make your own by rolling paper into scroll shapes and tying with twine—either way, they transform these from dessert into a statement piece.
Tired of Takeout? 🥡
Get 10 meals you can make faster than delivery arrives. Seriously.
One email. No spam. Unsubscribe anytime.
Instructions
- Prepare your pan and preheat:
- Preheat the oven to 325°F and line your mini muffin pan with cupcake liners—this sounds fussy but it makes removing the bites so much easier once they've cooled. The slightly lower oven temperature keeps the edges from cracking.
- Build the crust:
- Mix your graham cracker crumbs, sugar, and melted butter in a bowl until it looks like damp sand—you want every crumb coated with butter so the crust holds together. Press about a teaspoon of this mixture into each liner, pushing down firmly with your fingers or the back of a tiny spoon.
- Blind bake the crusts:
- Bake just the crusts for 5 minutes to set them, then pull them out and let them cool slightly while you make the filling. This short bake is key because it firms up the crust so it won't get soggy from the cheesecake filling.
- Cream the cheese and sugar:
- Beat softened cream cheese and sugar together until completely smooth and pale, about 2–3 minutes. Stop and scrape down the bowl occasionally to catch any lumps hiding at the edges.
- Add the wet ingredients:
- Add the room temperature egg, vanilla extract, and sour cream, beating just until everything is combined—overmixing at this stage can incorporate too much air and cause cracking. The batter should be smooth and pourable.
- Fill and bake:
- Spoon about 1 tablespoon of filling into each cooled crust, smoothing the tops slightly with the back of the spoon. Bake for 13–15 minutes until the centers jiggle just slightly when you gently shake the pan—this slight jiggle means they'll set up perfectly as they cool.
- Cool gradually:
- Let them sit in the pan for 15 minutes after removing from the oven, then transfer to a wire rack to cool completely. This gradual cooling prevents the thermal shock that causes cracks.
- Chill thoroughly:
- Refrigerate for at least 1 hour, though overnight is even better—chilled cheesecake bites hold their shape better and taste richer.
- Top and finish:
- Once chilled, top each bite with a small handful of diced fresh berries, then brush lightly with warmed fruit preserves if you want that glossy bakery look. Insert a diploma pick gently into the top of each bite just before serving for maximum celebration factor.
 Save
Save My nephew, who's seven and usually refuses anything with fruit on top, actually asked for seconds because the combination of creamy center, crunchy crust, and sweet berries won him over completely. It's moments like that when you realize a recipe isn't just about feeding people—it's about creating a memory they'll bring up years later.
Why the Mini Format Works
Bite-sized desserts exist in this beautiful space where people feel like they can have multiple servings without guilt, and somehow that makes the party more fun. The smaller size also means the cheesecake bakes faster and more evenly, and there's less chance of the dreaded crack across the top that would disappoint a perfectionist baker like me. Plus, if you're making these for a graduation, a birthday, or any celebration, each guest gets their own little present wrapped in a cupcake liner.
Variations That Keep Things Interesting
After making these several times, I started experimenting—a tiny pinch of lemon zest in the filling transforms them into something bright and summery, while a drizzle of chocolate over the top makes them feel decadent. Chocolate chips pressed into the filling before baking also work beautifully, as does a swirl of salted caramel right on top of the warm filling before it goes in the oven. The versatility means you can adapt them to match any celebration's vibe.
Storage and Make-Ahead Strategies
I make these the day before a party because it actually works in your favor—the flavors meld beautifully overnight and the texture becomes even creamier. Store them uncovered in the fridge until they're completely set (about 30 minutes), then cover loosely with plastic wrap so they don't absorb fridge smells, and they'll stay perfect for up to three days. You can top them with berries and adds the diploma picks up to an hour before serving, which means less last-minute stress and more time to enjoy your guests.
- Keep them in an airtight container on the middle shelf of your fridge away from anything pungent like onions or strong leftovers.
- If you want to prep even further ahead, bake them without the berry topping and store covered—just add fresh berries the morning of your event.
- These don't freeze well because the texture becomes grainy, so plan to make them fresh within a few days of your celebration.
 Save
Save These cheesecake bites have become my go-to celebration dessert because they feel special without demanding perfection from you. They're the kind of recipe that makes you look like you've got it all figured out, even when you made them the night before in your pajamas.
Recipe Questions & Answers
- → What is the best way to prepare the crust for these bites?
Mix graham cracker crumbs with melted butter and sugar, then press firmly into mini cupcake liners before baking briefly to set.
- → How long should the bites be chilled?
Chilling for at least one hour allows the filling to firm up and develop creamy texture.
- → Can I substitute the berries used for topping?
Yes, fresh blueberries, raspberries, or strawberries all work well and provide a bright, fresh finish.
- → Is it possible to make these bites gluten-free?
Use gluten-free graham crackers in place of regular ones to accommodate gluten-free needs without affecting flavor.
- → How can I add more flavor variations?
Try adding lemon zest or a swirl of chocolate into the filling for a unique twist.
- → What is the purpose of the diploma picks?
Diploma picks add a festive decorative touch perfect for graduation celebrations or themed events.