 Save
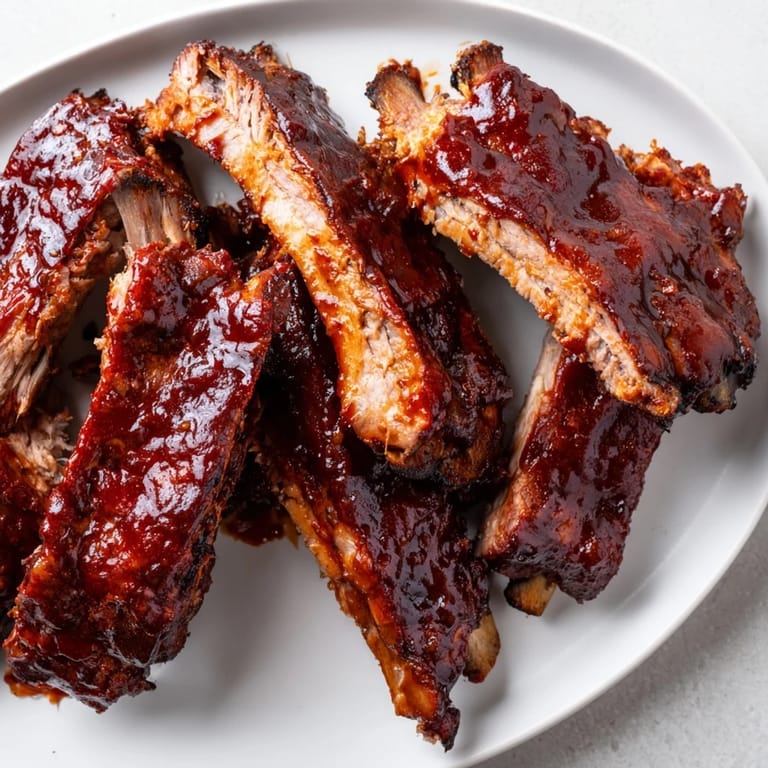
Save Last summer, my neighbor Tom taught me his rib secret after I complimented the rack he brought to our block party. He leaned over my fence and whispered that patience matters more than technique, and honestly, he was right. These ribs have become my go-to for lazy Sundays when I want something impressive without standing over a hot grill all afternoon.
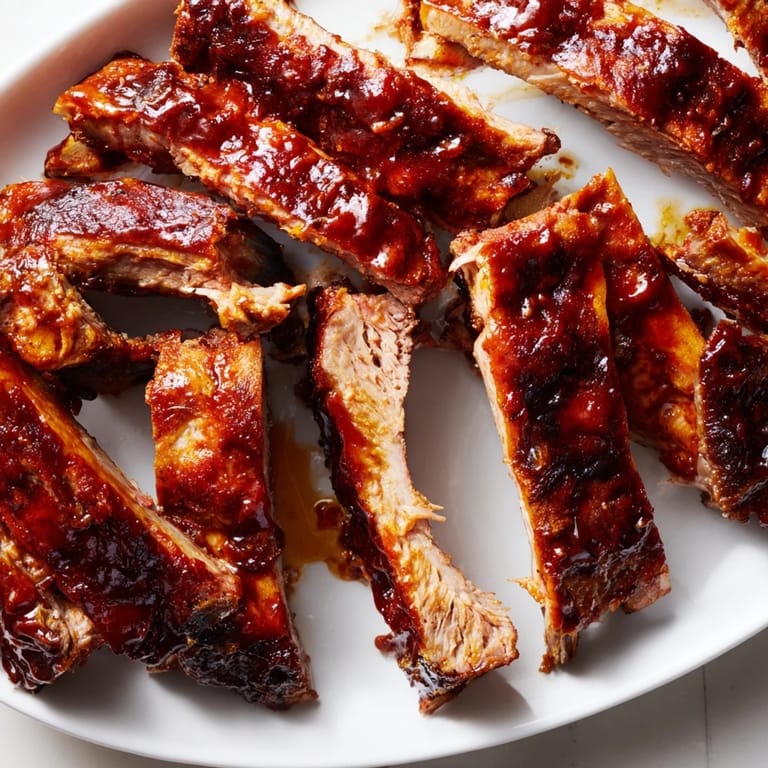
I made these for my dad's birthday dinner, and he honestly ate more ribs than I have ever seen anyone consume in one sitting. My kitchen smelled incredible all afternoon, and when I pulled them out of the oven with that perfect char, the whole family gathered around like moths to a flame.
Ingredients
- 1.5-2 kg pork or beef ribs: St. Louis style or baby back ribs work beautifully, just ask your butcher to trim them if you are not comfortable removing the membrane yourself
- 2 tbsp olive oil: Helps that dry rub cling to every inch of the meat and creates a nice base for the seasoning
- 2 tbsp brown sugar: Caramelizes beautifully and balances the smoky spices with just enough sweetness
- 1 tbsp smoked paprika: This is where all that gorgeous smoky flavor comes from, do not skip it
- 1 tsp garlic powder: Evenly distributed garlic flavor without any burnt bits
- 1 tsp onion powder: Rounds out the savory notes and pairs perfectly with the garlic
- 1 tsp ground black pepper: Freshly ground makes a noticeable difference here
- 1 tsp salt: Essential for seasoning the meat through and through
- ½ tsp cayenne pepper: Optional, but adds a gentle warmth that builds slowly
- 1 cup barbecue sauce: Use your favorite brand or homemade, just something you already love
- 2 tbsp honey: Makes the glaze sticky and helps it caramelize under high heat
- 1 tbsp apple cider vinegar: Cuts through all that richness and adds a tangy backbone
Tired of Takeout? 🥡
Get 10 meals you can make faster than delivery arrives. Seriously.
One email. No spam. Unsubscribe anytime.
Instructions
- Preheat your oven to 150°C (300°F):
- Line a large baking sheet with aluminum foil because trust me, cleanup is so much easier later
- Prep the ribs:
- Pull off that thin white membrane from the back of the ribs, it gets tough and chewy if you leave it on
- Make the dry rub:
- Mix brown sugar, smoked paprika, garlic powder, onion powder, black pepper, salt, and cayenne in a small bowl until combined
- Season the meat:
- Rub olive oil all over the ribs, then press that spice mixture into every nook and cranny
- Wrap and bake:
- Place ribs meat side up on your prepared sheet, cover tightly with foil, and let them cook slowly for 2 to 2½ hours
- Whisk the glaze:
- While ribs are baking, stir together barbecue sauce, honey, and apple cider vinegar until smooth
- Crank up the heat:
- Pull the ribs out and increase your oven to 220°C (425°F) or fire up the grill to medium-high
- Sauce them up:
- Brush that sticky glaze all over the ribs generously, letting it drip into every crevice
- Finish with caramelization:
- Return ribs to the oven uncovered or throw them on the grill for 10 to 15 minutes, basting once, until bubbly and bronzed
- Rest and serve:
- Let those ribs rest for 5 minutes so the juices redistribute, then slice between the bones and pass extra sauce around
 Save
Save My sister texted me the next day asking for the recipe because her husband could not stop talking about them. There is something so satisfying about serving food that makes people close their eyes and moan a little.
Make It Smokier
If you really want that authentic pitmaster flavor, finish these on a grill over indirect heat instead of the oven. The wood smoke infuses the meat in a way that no amount of liquid smoke can replicate.
Side Dish Pairings
Creamy coleslaw cuts through the richness perfectly, and cornbread sops up every last drop of that glaze. Baked beans complete the trio for a meal that feels like a proper backyard feast.
Make Ahead Strategy
You can rub the ribs the night before and let them sit in the refrigerator uncovered. That extra time lets the seasoning penetrate deeper into the meat.
- Wrap leftovers in foil and reheat gently so they do not dry out
- The flavor actually improves overnight, so do not stress about leftovers
- Freeze cooked ribs for up to three months if you want meal prep
 Save
Save These ribs have a way of turning an ordinary Tuesday into something worth celebrating. Hope they become a staple in your house like they have in mine.
Recipe Questions & Answers
- → How do I know when the ribs are done?
The ribs are ready when the meat has pulled back from the bone ends by about 1/4 inch and the meat is tender when pierced with a fork. You should be able to twist the bones easily and the meat should nearly fall off.
- → Should I remove the membrane from the ribs?
Yes, removing the thin silvery membrane from the back of the ribs is recommended. It prevents seasonings from penetrating and becomes tough and chewy during cooking. Simply slide a knife under it, grab with a paper towel, and pull it off.
- → Can I make these ribs entirely on the grill?
Absolutely. After applying the rub, cook the ribs over indirect heat (around 300°F) for 2-2½ hours wrapped in foil. Then unwrap, brush with sauce, and grill over direct heat for 10-15 minutes to caramelize the glaze.
- → What sides pair well with BBQ ribs?
Classic coleslaw, cornbread, baked beans, potato salad, mac and cheese, or grilled corn on the cob all complement the rich, smoky flavors perfectly. A crisp vinegar-based slaw helps cut through the richness.
- → How long should I let the ribs rest before serving?
Let the ribs rest for at least 5-10 minutes after the final glaze. This allows the juices to redistribute throughout the meat, making each bite more tender and flavorful. Cutting too soon will cause those precious juices to run out.
- → Can I prepare these ribs ahead of time?
You can cook the ribs through the slow-roasting step up to a day in advance. Refrigerate them wrapped in foil, then bring to room temperature before the final glazing step under high heat for 10-15 minutes.